When it's time to give your beeswax wraps a thorough cleaning, start by carefully rinsing them under cold water. It's crucial to use cold water because beeswax wraps are not heat-resistant. This step is essential as the cold water helps the wax coating solidify, ensuring it remains intact and allowing your wraps to last longer.
Welcome back to our eco-friendly journey! In our previous post on How to make Beeswax Wraps, we learned to create reusable and sustainable beeswax wraps. Now, we focus on an important topic in detail: How to Clean Beeswax Wraps.
Taking proper care of your beeswax wraps not only extends their lifespan but also ensures that you're maximizing their eco-friendly potential. So, let's dive into five simple steps to keep your beeswax wraps clean, fresh, and buzzing with usefulness!
What are Beeswax Wraps?
Beeswax wraps are made from pieces of fabric, typically organic cotton, coated with a mixture of beeswax and oil, such as jojoba oil. These versatile wraps are used for storing and covering food items, offering a plastic-free and reusable alternative to single-use plastic wraps. They can be easily molded to cover various items, from avocados to bowls, and help reduce food waste, which is a significant global issue.
Did you know? According to a study conducted by the University of Manchester, by replacing plastic wrap with beeswax wraps, an average household can save up to 100 meters of plastic wrap per year!
How to Clean beeswax wraps?
For a comprehensive cleaning, begin by gently rinsing your beeswax wraps under cold water. It's important to use cold water because beeswax wraps are not designed to withstand heat. The cool temperature aids in solidifying the wax coating, preserving its integrity and extending the longevity of the wraps.
Did you know? A study published in the Journal of Environmental Management found that beeswax wraps are 100% biodegradable and leave no trace in the environment, unlike single-use plastic wraps that take hundreds of years to break down!
To ensure their longevity, it's important to follow the proper cleaning and storage practices.
If you a video guide, watch this video 👇
Step 1: Spot Treat for Convenience and Conservation
Beeswax food wraps have natural antibacterial properties, making them less prone to harboring bacteria. As a result, they don't require washing after every use. Spot treating is a great way to conserve water and prolong the life of your DIY beeswax wraps.
If your wrap hasn't come into contact with wet or oily substances, a simple brush-off or spot-clean with a clean cloth using cold water should suffice. By spot treating, you can preserve the durability of your wraps and minimize unnecessary washing.

Step 2: Rinse Away the Mess
To answer the question which most people ask “how to wash beeswax wraps” to clean.
When it's time for a more thorough cleaning, start by rinsing your beeswax wraps under cold water. Cold water is crucial as beeswax wraps are not heat-resistant. It helps solidify the wax coating, keeping it intact and ensuring the wraps last longer.
A quick rinse is often enough to remove food residue from wraps used to cover items like avocados, cucumbers, or vegetables.

Step 3: Gently Wash with Eco-Friendly Soap
For tougher stains or when a more comprehensive cleaning is needed, washing your beeswax wraps with a mild eco-friendly soap is the way to go. Begin by running the wrap under cold water, making sure to wet both sides.
If there are any leftover food remnants, gently scrape them off using the back of a spoon. Next, add a small amount of eco-friendly soap with low-alcohol content to the wet wrap, focusing on the dirtier areas.
Rub the wrap gently between your hands to create a lather. Avoid scrubbing vigorously, as this may remove the wax coating. Finally, rinse the wrap thoroughly with cold water to remove any soap residue.

Step 4: Dry with Care
Proper drying is essential to prevent mold growth and maintain the freshness of your beeswax wraps. After washing, lay the wet wrap flat on a cotton dish towel and gently pat it dry. Avoid wringing or twisting the wrap, as this can damage the delicate wax coating.
To air dry, hang the wrap on a line or place it on a dish rack in a well-ventilated area. If your wrap retains any persistent smells, allowing it to air dry for a few days will help dissipate them.
For particularly odorous foods like blue cheese or onions, consider using specific wraps designated for such aromas.

Step 5: Proper Storage for Longevity
To keep your wraps in optimal condition, proper storage is key. Store them in a cool, dry place away from direct heat sources, such as stoves or dishwashers. Excessive heat can cause the wax to melt and reduce the effectiveness of the wraps. You can fold your wraps and keep them in a drawer alongside your reusable paper towels, or roll them up gently and place them on the kitchen countertop for easy access. Keeping a few beeswax bread wraps visible serves as a reminder to use them frequently, reducing the reliance on single-use plastics.
"When you clean your beeswax wraps with love and care, you're not just preserving their lifespan; you're contributing to a greener planet."
How Long Does Beeswax Wrap Last?
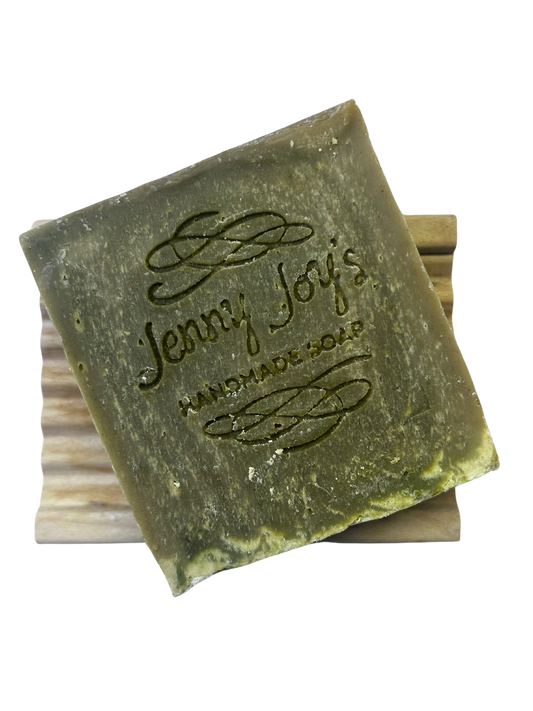
The lifespan of reusable beeswax wraps depends on how well you care for them. With proper maintenance, these wraps can last for up to a year or more. To buy Jenny Joy’s Soap best beeswax wraps. Shop Now
How to Make Beeswax Wraps
Here is the beeswax wrap recipe for making beeswax wraps
- Cut the bee fabric into your desired sizes, such as small squares, medium squares, large squares, or extra-large rectangles
- Preheat your oven to around 200 degrees Fahrenheit (93 degrees Celsius)
- Place a sheet of parchment paper on a baking sheet to protect it from wax spills
- Sprinkle-grated beeswax evenly over the fabric. Be generous but avoid overloading it with wax
- Place the baking sheet with the fabric and wax in the preheated oven for about 2-5 minutes or until the wax melts and saturates the fabric
- Lay your fabric piece flat on a clean surface covered with parchment paper
- Use a clean brush or your fingers to spread the wax evenly over the fabric, covering the entire surface and reaching the edges
- Wait for the wraps to completely cool and solidify, which usually takes around 10-15 minutes
- Store the wraps in a cool, dry place away from direct sunlight
I published a detailed guide on how to make beeswax wraps, check out to read more
By following these simple steps on how to clean beeswax wraps DIY, you can maintain their functionality and reduce your ecological footprint. Beeswax wraps are an excellent alternative to single-use plastics, and by taking proper care of them, you're contributing to a greener and more sustainable future.
"Cleaning beeswax wraps is not just a chore; it's a commitment to a more sustainable kitchen and a healthier planet."
Remember, a little love and attention go a long way in preserving the lifespan of your beeswax wraps. So, let's make a buzz and wrap it up sustainably!
On Jenny Joys Soap blog, we regularly post related to beeswax wraps, handmade soaps and eco friendly living. If you enjoyed the blog post, do comment and let us know about the relevant topics which you want us cover for beeswax wraps.
Make beeswax wraps and post on social media and tag @jennyjoyssoap
