Are you ready to dive into the world of DIY beeswax wraps? If you're new to this eco-friendly alternative to plastic wrap, you've come to the right place! In this blog post, we'll explore the best fabric for beeswax food wraps, provide step-by-step instructions on making your own beeswax fabric wraps, and address common questions like do you need to wash the fabric before making beeswax wraps. So, let's get started and discover the wonders of beeswax wrap fabric!
Step 1: Understanding Fabric Weight:
To ensure the success of your beeswax wraps, it's important to choose the right fabric weight. We'll explain how fabric weight is measured, whether in ounces per square yard (oz/yd²) or grams per square meter (gsm). Understanding the weight and what fabric to use for beeswax wraps will help you select the appropriate material for your wraps. The weight of the fabric is calculated based on a specific area, length-times-width area.
Step 2: What fabric is best for beeswax wraps? Selecting the right fabric
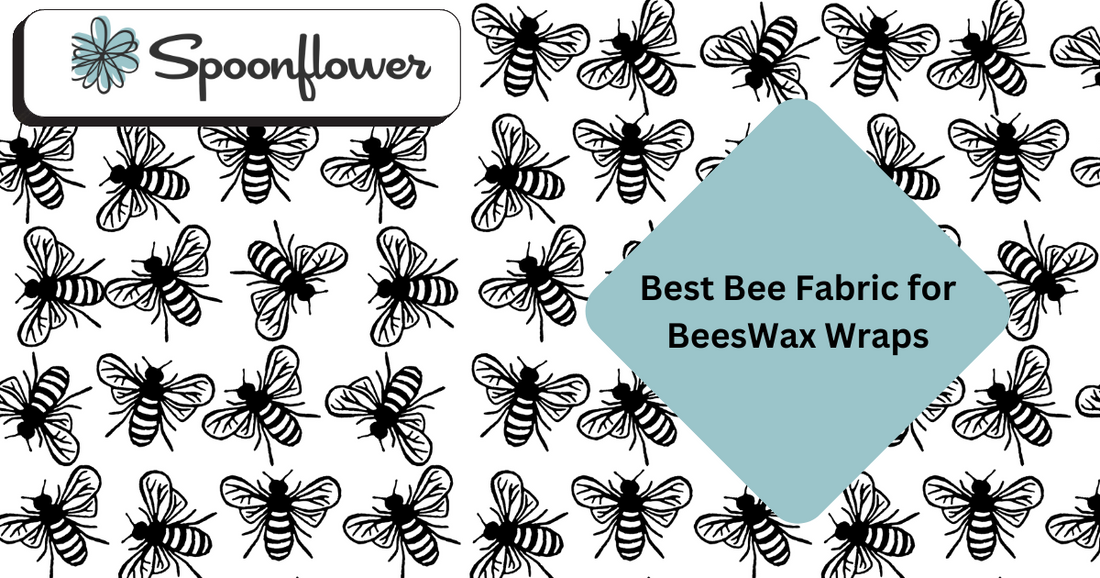
We recommend a lightweight cotton beeswax wrap fabric with a weight range of 110-150 gsm for making beeswax wraps. Discover our exclusive hand-block printed best bee fabric for beeswax wraps, available in 120 gsm, which adds a charming touch to your wraps. You can find it bee fabric on our website. The bee print is also available in the Spoonflower Cotton Poplin 3.3 oz per sq. yard which is available here. If you love the bee print you might want to check out the wide variety of other fabrics available for your next sewing project.

Step 3: Preparing the Fabric:
Before diving into the beeswax wrapping process, it's essential to prewash your fabric. We'll guide you on how to prewash and cut the fabric into your desired dimensions. I like to cut my fabric using a rotary cutter which can be found on Amazon. If you need a cutting mat and a rotary cutter you can find them here
Step 4: Applying Beeswax:
Now comes the fun part! We recommend using premixed waxing bars, which simplify the process. Prepare your parchment paper-lined cookie sheet, melt the wax, and brush it onto the fabric until it's fully saturated. Line an old cookie sheet with parchment paper which can be found here
Step 5: How to make beeswax fabric wraps? Setting and Customizing:
- Melt the premixed waxing bar on the cookie sheet and brush the liquid into the fabric until it’s saturated.
- Place the cookie sheet into the oven for 1-2 minutes and then remove the wrap and hang it to air dry.
I also published How to make beeswax wraps, a DIY guide to making sustainable food wraps.
Don’t forget to Bee Creative! Beeswax wraps don’t have just to be square, try making a round one to be used as a bread-proofing cover.
You can also use a fat quarter fabric to create the perfect wrap for your sourdough bread. Breathable beeswax wraps with natural antibacterial properties mean your food stays fresh longer and saves you money on grocery bills.
Step 6: Gift Ideas and Labeling:
If you're planning to make beeswax wraps as gifts, we have you covered! Check out our digital download labels, including special designs for occasions like Christmas. We'll also provide helpful suggestions and resources for personalizing your wraps and making them extra special.
Step 7: Share Your Creations:
Once you've completed your beeswax wraps, we encourage you to showcase your creations on social media! Tag us at @jennyjoyssoap on Instagram or Facebook, and let's celebrate your creativity and commitment to sustainability.


Congratulations on embarking on your beeswax wrap journey! Here is a set of 12 craft brushes if you decide to make these with friends or family, the more the merrier. Those who craft together, stay together! Craft brushes can be found on Amazon here
Enjoy the freshness and eco-friendliness of your homemade beeswax wraps, and don't hesitate to contact us if you have any questions or need further assistance. Happy wrapping!

