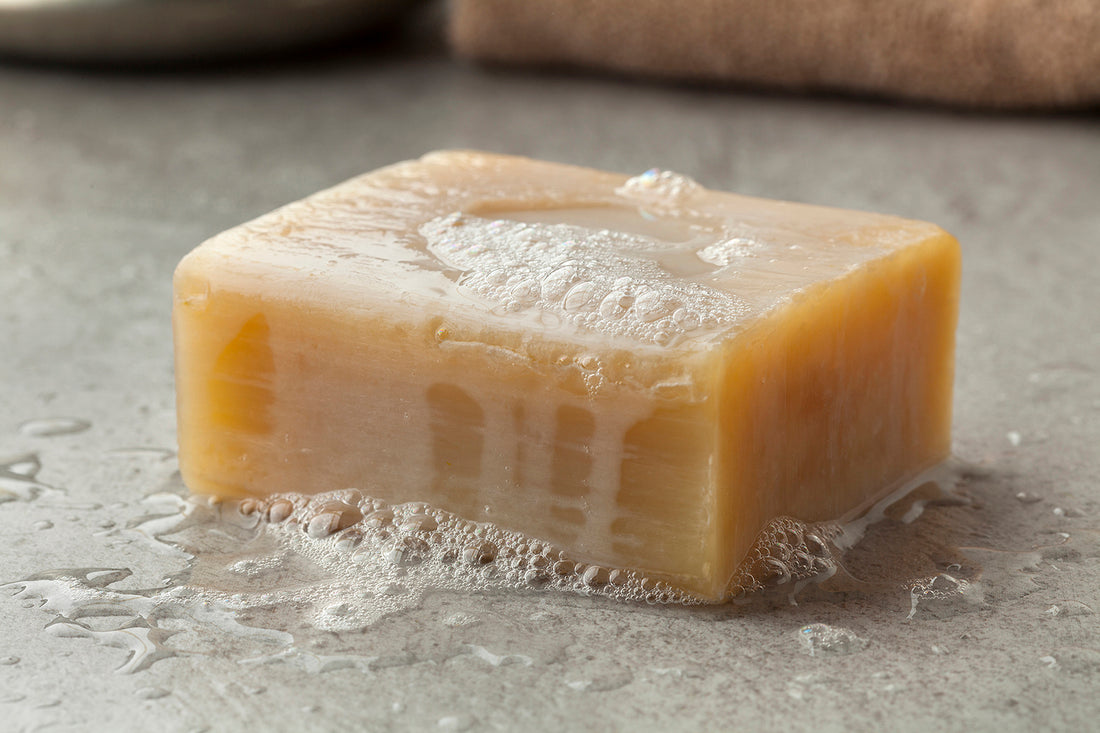
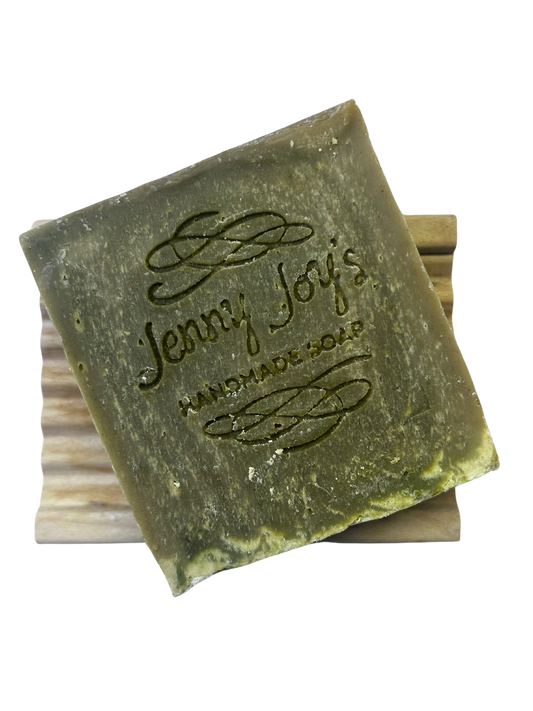
Handmade soap-making involves gathering ingredients like oils, lye, essential oils, colorants, and additives. After careful preparation and measuring, the process includes mixing the lye solution with water, adding essential oils or fragrances and colors, pouring the mixture into molds, and allowing it to cure. Saponification occurs during curing, converting oils into soap. Once cured, the soap is ready for a luxurious bathing experience.
Benefits of making your own soaps
Handmade soap offers a multitude of benefits that make it an excellent choice for skincare. Crafted with natural ingredients, such as oils, fats, and botanical extracts, handmade soaps provide a gentle and mild cleansing experience without harsh chemicals. They possess moisturizing properties, thanks to nourishing oils and butters, keeping the skin hydrated and maintaining its natural moisture balance. What sets handmade soaps apart is their customizable formulas, allowing for tailored recipes to address specific skin concerns and preferences.
Discover the captivating blend of our Sandalwood and Patchouli handmade soap, carefully crafted to transport your senses and leave your skin feeling refreshed, balanced, and infused with an alluring aroma.
What this topic covers:
Getting Started with Soap Making
- Understanding the basics of soap making
- Essential ingredients and equipment needed
- Choosing the right oils and fats
- Selecting fragrance oils and essential oils
- Gathering necessary equipment and tools
- 9 Step process to make handmade soaps
- Safety precautions for soap making
- Importance of wearing protective gear
- Handling lye safely
- Storing and disposing of ingredients properly
Understanding the Basics of Soap Making:
Soap making is a fascinating craft that allows you to create your own personalized bars of soap. Before diving into the process, it's essential to understand the basics of soap making. Familiarize yourself with terms like saponification (the chemical reaction that turns oils and fats into soap) and trace (the stage where the soap mixture thickens). Knowing these fundamentals will help you navigate the soap-making process with confidence and understanding.
Essential Ingredients and Equipment Needed:
To embark on your soap-making journey, you'll need a few key ingredients and equipment. Let's explore each of them:
Choosing the Right Oils and Fats:
The oils and fats you select will determine the properties of your soap. Consider factors like hardness, lather, moisturizing ability, and cleansing power when choosing oils and fats. Popular choices include olive oil, coconut oil, shea butter, and cocoa butter. Experimenting with different combinations will allow you to create unique soap recipes tailored to your preferences.
Selecting Fragrance Oils and Essential Oils:
Adding scents to your soap can elevate the sensory experience and create a delightful skincare ritual. Fragrance oils come in a wide range of enticing aromas, while essential oils offer natural scents and potential therapeutic benefits. To read benefits of handmade soap, click here.
Research the properties and safety guidelines of various fragrance and essential oils to choose ones that suit your preferences and skin sensitivities.
Gathering Necessary Equipment and Tools:
Soap-making requires specific equipment and tools to ensure a successful process. Some essential items include a stainless steel or heat-resistant plastic container for mixing, a heat source (such as a stove, crockpot, or microwave), a thermometer to monitor temperatures accurately, and molds to shape your soap. Don't forget to stock up on measuring cups, spoons, and a stick blender for efficient mixing.
9-step process to make handmade soap
Here is the 9 step process to make best handmade soap
Step 1: Prepare Your Work Area
Step 2: Measure and Prepare Ingredients
Step 3: Prepare the Lye Solution
Step 4: Melt Oils and Fats
Step 5: Mixing the Lye Solution and Oils
Step 6: Adding Fragrance, Colorants, and Additives
Step 7: Pouring into Molds
Step 8: Curing the Soap
Step 9: Unmolding and Cutting
Let's jump into the details of each step
Step 1: Prepare Your Work Area
Clear a clean and well-ventilated workspace for soap making. Cover the area with newspapers or a protective surface. Gather all the necessary ingredients, equipment, and tools within reach.
Step 2: Measure and Prepare Ingredients
Weigh and measure the oils, fats, and lye according to your soap recipe. Ensure accuracy in measurements for consistent results. Prepare any additional ingredients like fragrance oils, essential oils, colorants, or additives.
NOTE: Put on protective gear, including gloves, safety goggles, and an apron. Ensure proper ventilation in your workspace.
Step 3: Prepare the Lye Solution
When mixing lye and water select a well ventilated area, preferably outside. In a heat-resistant container, carefully add the measured lye to the appropriate amount of water, following safety guidelines. Stir the mixture until the lye is fully dissolved, taking caution as the solution may heat up.
Step 4: Melt Oils and Fats
In a separate heat-resistant container or double boiler, melt the oils and fats over low heat and allow them to cool. Stir occasionally until they are completely liquefied.
Step 5: Mixing the Lye Solution and Oils
Allow the lye solution and oils/fats to cool to around 100-110°F (38-43°C). Slowly pour the lye solution into the oils, stirring continuously with a whisk or stick blender. Blend until the mixture reaches a stage called "trace" where it thickens to a pudding-like consistency.
Step 6: Adding Fragrance, Colorants, and Additives
Incorporate fragrance oils, essential oils, colorants, or additives according to your desired recipe. Stir well to ensure even distribution.
Step 7: Pouring into Molds
Carefully pour the soap mixture into your chosen molds. Tap the molds gently on the counter to release any trapped air bubbles. Smooth the surface if necessary.
Step 8: Curing the Soap
Cover the molds with a towel or silicone mat to insulate them. Place the molds in a cool, undisturbed area to allow the soap to harden and go through the saponification process. Curing times can vary but typically range from 24 hours to several weeks, depending on the recipe.
Step 9: Unmolding and Cutting
Once the soap has hardened and cured, gently remove it from the molds. Cut the soap into desired shapes and sizes using a knife or soap cutter. Allow the cut bars of soap to further cure and dry for a few additional weeks before use.
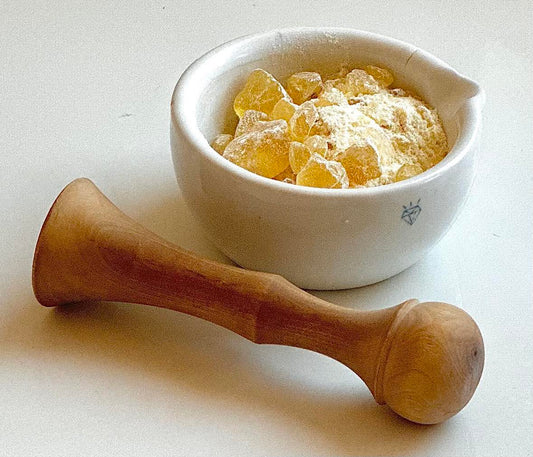
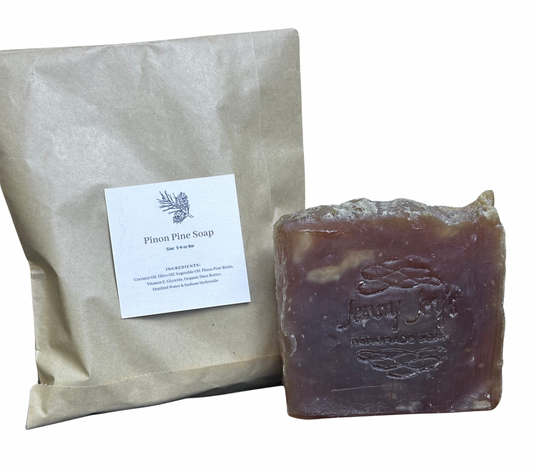
Following this step-by-step process will guide you in creating your own handmade soap. Experience the rejuvenating qualities of our handmade pine tar soap, carefully crafted to harness the therapeutic benefits of pure pine tar. Treat yourself to a gentle and soothing bathing experience that promotes healthy, nourished skin, leaving you feeling refreshed and revitalized.
Safety Precautions for Soap Making
While soap-making is a rewarding and enjoyable hobby, it's crucial to prioritize safety. Follow these safety precautions to protect yourself and ensure a secure soap-making experience:
Importance of Wearing Protective Gear
Always wear protective gear, such as gloves, safety goggles, and an apron, when working with soap-making ingredients. This will safeguard your skin and eyes from potential irritation caused by lye or other caustic substances.
Handling Lye Safely
Lye is a key ingredient in soap making, but it requires careful handling. When working with lye, remember to wear protective gear and handle it in a well-ventilated area. Follow precise instructions for mixing lye with water, as the chemical reaction can release heat and fumes. Take caution to avoid contact with bare skin and eyes.
Storing and Disposing of Ingredients Properly
Proper storage of soap-making ingredients is essential for their longevity and safety. Store oils, fats, fragrance oils, and essential oils in a cool, dark place to prevent degradation. Ensure lye is stored securely, away from children and pets. When disposing of unused or expired ingredients, follow local regulations to protect the environment.
By understanding the basics of soap making, gathering the necessary ingredients and equipment, and following safety precautions, you'll be well-prepared to embark on your soap-making adventure. With a world of creativity and self-expression awaiting you, get ready to craft unique and delightful bars of soap that will pamper your skin and uplift your bathing experience.
In a world filled with mass-produced options, choosing handmade soap is a way to elevate your bathing routine and embrace a truly special experience. Our Handmade soap offers the perfect combination of natural ingredients, customization, and artisanal craftsmanship. By purchasing our handmade soap, you support local artisans and our mission, promoting sustainable practices and the preservation of traditional soap-making techniques.

